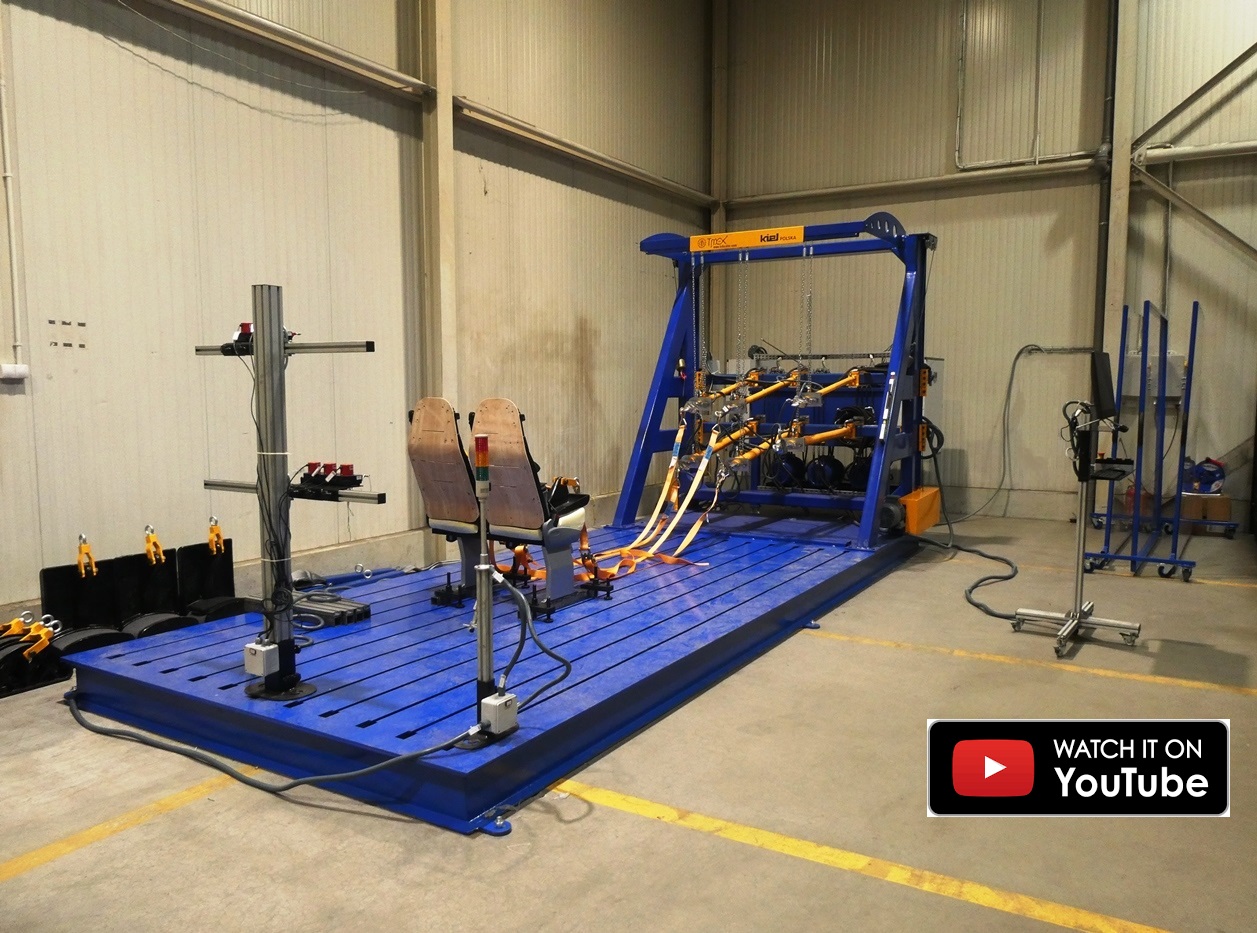
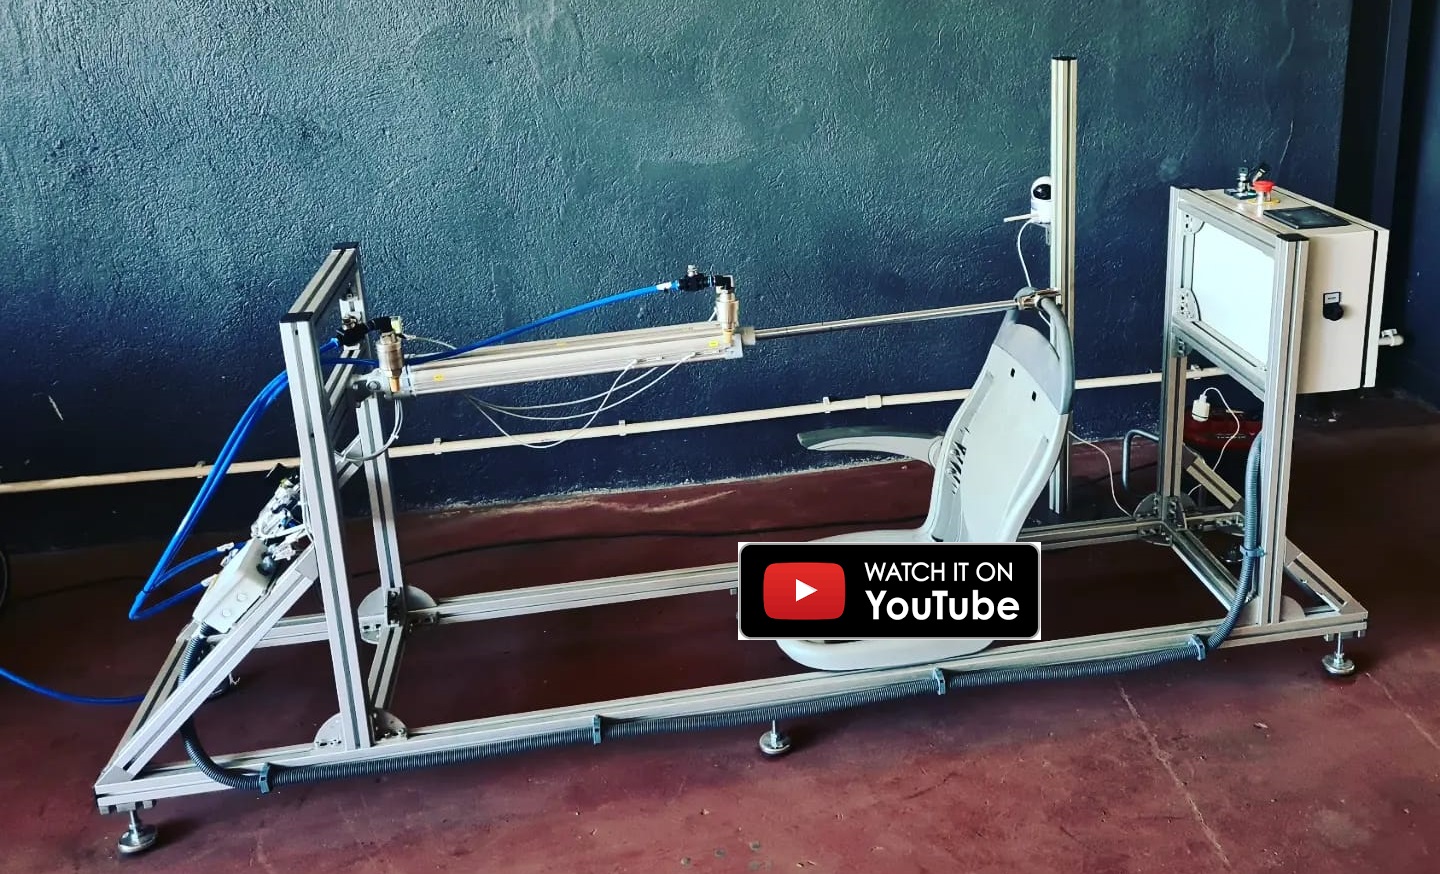
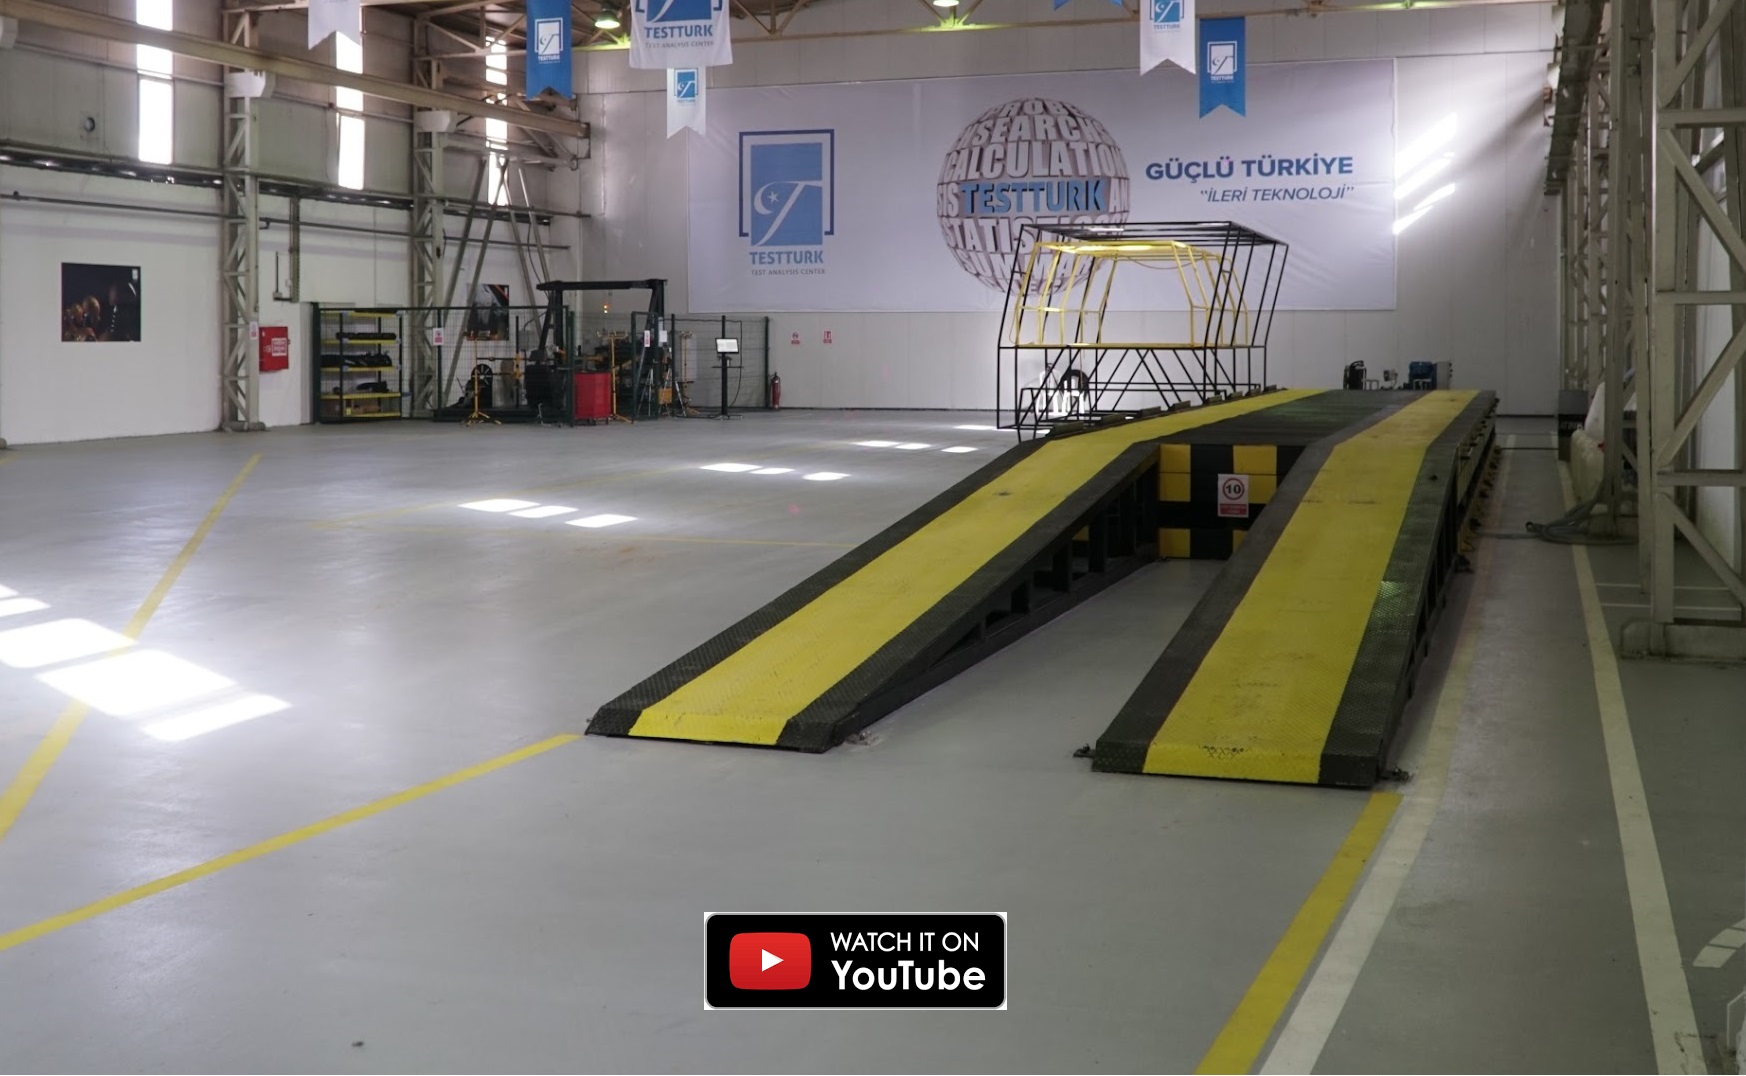
Static Test Station
Regarding ECE R14, R80 and correspondent FMVSS regulations,
The static force resistance of seats of single, double, triple or 5-seat automotive seats of M1, M2, M3, plastic or disabled types connected to 2P or 3P point seat belts as well as anchorage parts and other automotive components.
The table size, the number of hydraulic pistons between 2 and 10, the force direction as tensile, compressive or both, the force scale up to 50 kN per actuator, the piston speeds are determined as per request.
Specifications
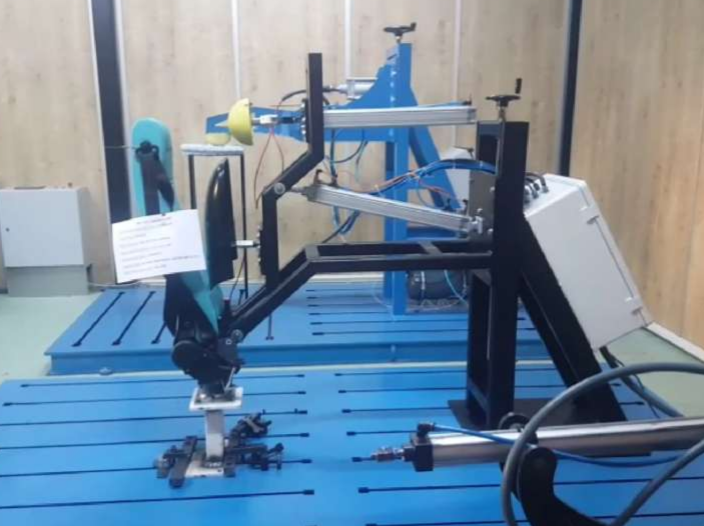
Durability Test Station
ECE R17 + fatigue
test stations can be designed for single, dual or triple automotive seats. With servo-equipped axes, precise load cells, and torque sensors with an accuracy of 0.2% at the center of H, it is possible to perform more precise and various test using our new topology.
In the test, the backrest apparatus is first rested around point R until it reaches a torsional torque of 373 / 530 Nm, then the upper servo piston rests against the head. From this point on, the upper piston applies a force of 890 N.
Specifications
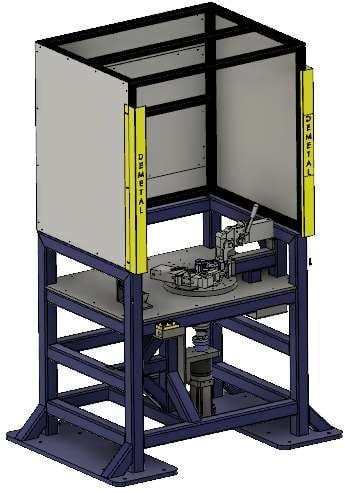
Measurement and Breaking-in Station
a dedicated in-line station
that is responsible for a 100% of the measurement functions and the breaking-in of car door hinges needed because of their material structure.
Specifications
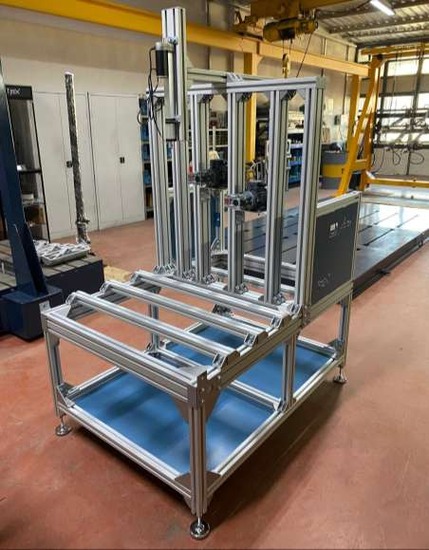
Friction Test Station
Fatigue and aging
tests of seats in accordance with the automotive manufacturers’ own standards (Ford ST0809), the dampness and heating of the manufacturer’s automotive seats are checked under the load.
Specifications
Energy Dissipation & Crash Test Station
Regarding ECE R21 and R25 regulations,
There are 3 types of topology in energy dissipation and crash test benches: free fall, sled assisted free fall and fluid driven pendulum.
In the free fall topology, short-term friction occurs immediately after impact, followed by the retraction and later a second impact. The impact speed cannot be exactly measuered.
In the pandelum-type impact test devices developed by TMEX, only one point impact is applied. Impact velocity can be measured in milliseconds actually, accurately and precisely.
Specifications
Dynamic Test Station
Regarding ECE R16 regulations,
the test bench performs dynamic locking position, retractor life, locking force determination and endurance tests of the seat belt.
The hybrid framework allows to perform 3 types of tests within the same mechanical structure, software interface and electrical system.
Specifications
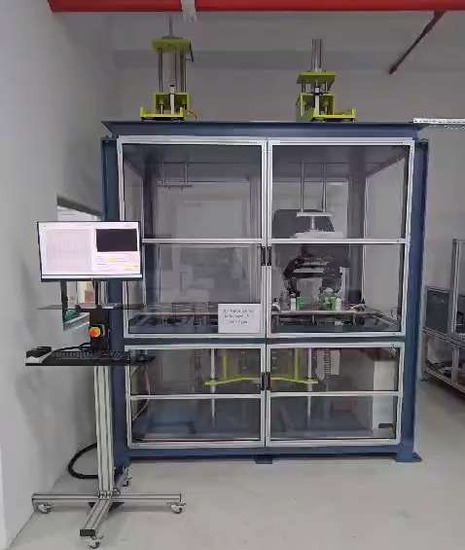
Y/Z Road Strength
Used for Ford, Renault and Stellantis
road conditions are simulated in three working mode, the deformation of automotive components, such as the seat cushion in passenger cars, are digitized, and the fittings and ratios where potential loosening may occur are identified.
For road simulation purposes:
- Sinusoidal motion in the Y and Z axes
- Sinusoidal motion only in the Z axis
- Replication of road data in the Z axis can be obtained.
Specifications
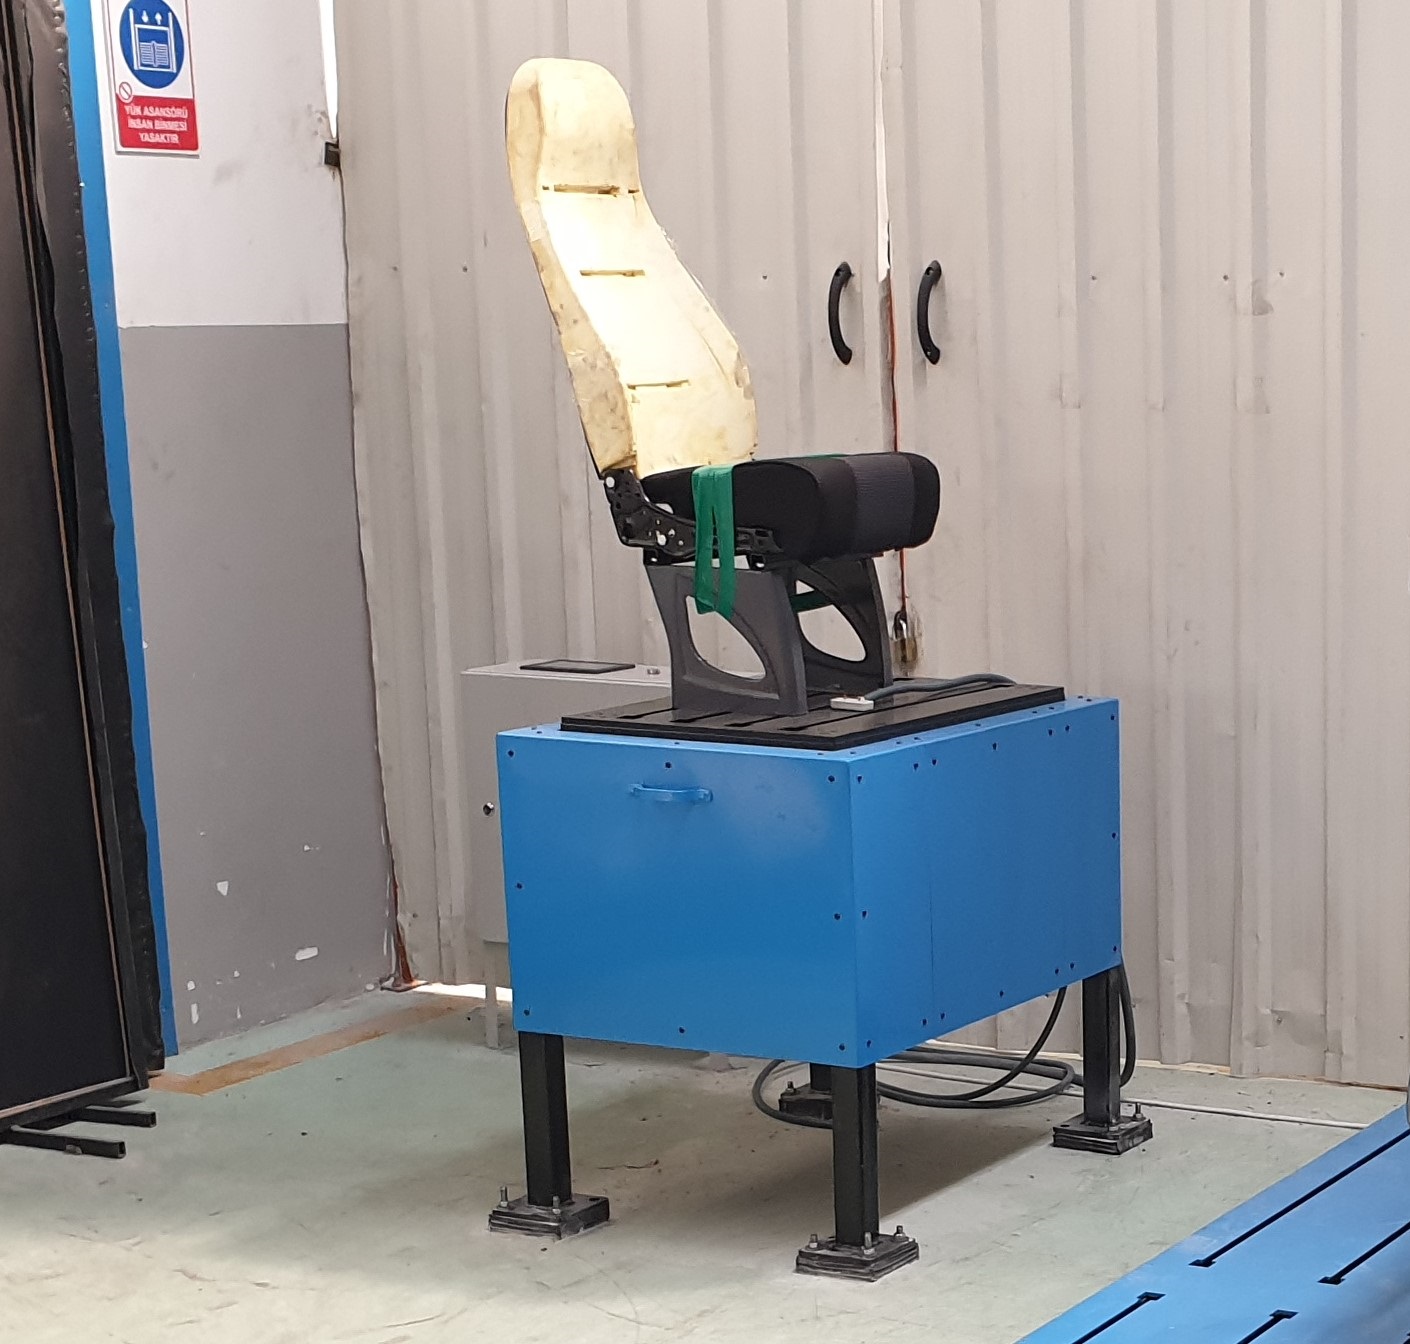
Vibration Test Station
Regarding DIN 45678 norm,
It is used on vehicle seats, automotive parts with bolted connections, and parts where the resonance frequency shall be determined.
There are 2 test types, namely resonance frequency determination and vibration life test.
For the two test types, resonance frequency determination and vibration life test, constant set frequency, set life time, manual inspection frequency, frequency curve for the resonance tests are entered on the touch screen. The software records the accelerometer data on the table and on the test specimen.
Specifications
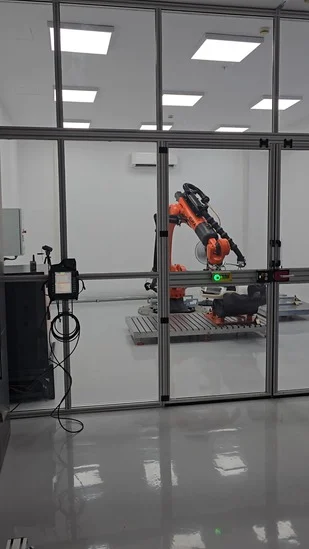
Robotic Quality Cell
For the first time in Turkey,
the ingress-egress test implemented by TMEX, the Occubot module of the Kuka robot brand simulates the sitting and standing movements of a human in a chair model, using a robotic manipulator capable of controlling force in orbital planes.
Automotive manufacturers (OEMs) define the force fields and vectors applied to the seat surface by human standing and sitting behaviors, based on average demographic characteristics, using load mat sensor equipment in their technical specifications, and share these force curves with their contracted suppliers. The Occubot module in the Kuka robot uses a 3-axis vector force sensor at the 6th axis end to perform a planar translation when force is not reached in the trajectory plane, in order to conform to this force tensor-time curve.
Specifications
Digital Basic
Life & Fatigue Test Station
Smart relays are generally used in special purpose life and fatigue test benches. Smart relays allow entries up to 30 thousands for the counter set value. Number entry is thru tiny buttons. TMEX has implemented 4.3’’ touch screen HMI and controller solution which supports cost advantage also in this model.
In this solution, besides the counter set value, manual inspection frequency, such as in every 50 thousand cycles, are also allowed to be entered even in million digits.
Specifications
Life and Fatigue Test Station
Using servo pistons'
precision and technology, the test bench has been developed for general-purpose life, fatigue and durability tests of all automotive components (seats, armrests, backrests, footrests, magazine holders etc.) and industrial products.
Axes can be operated independently, sequentially or synchronously. For example, the sequential forces to first armrests, then footrests and backrests can be applied in accordance with the predefined force and position values. Although really difficult, the simultaneous sinusoidal and absolute sinusoidal force control in 4 axes has been completed within the scope of special train seat test norms.
Single or 2-axis designs of different axis stroke, speed and force scale are available upon request.
Specifations

Tractor & Cabinet Test Station
Regarding ECE R58, R73 and R93 regulations
as well as 89/173/EEC, 4 types of tests on force up to 200 kN and energy application are performed with pistons of a stroke of 500 mm.
Under a force level of up to 200 kN, moving the piston 1mm on a specimen with varying material structure and elasticity is achieved by the outstanding control performance we engineered.
Monitoring the test remote on a connected webcam, automatic report generation in the format determined by the customer, time stamped test folders and automatic storage of all folder contents on cloud are standard features that are shared by other models of our test benches.
Specifications
Rollover Test Station
Regarding ECE R66, R107 and R111 regulations,
It is used for the tests of tanks and tankers with the test pressure of less than 4 bar of N and O category vehicles as well as bus type commercial vehicles.
Considering the risks for the telescopic pistons under heavy and unbalanced loads and the construction excavation work that will be required in case the pistons are buried underground a ramp is designed where the vehicle can drive onto the platform.
The task-sharing business model can be negotiated.

